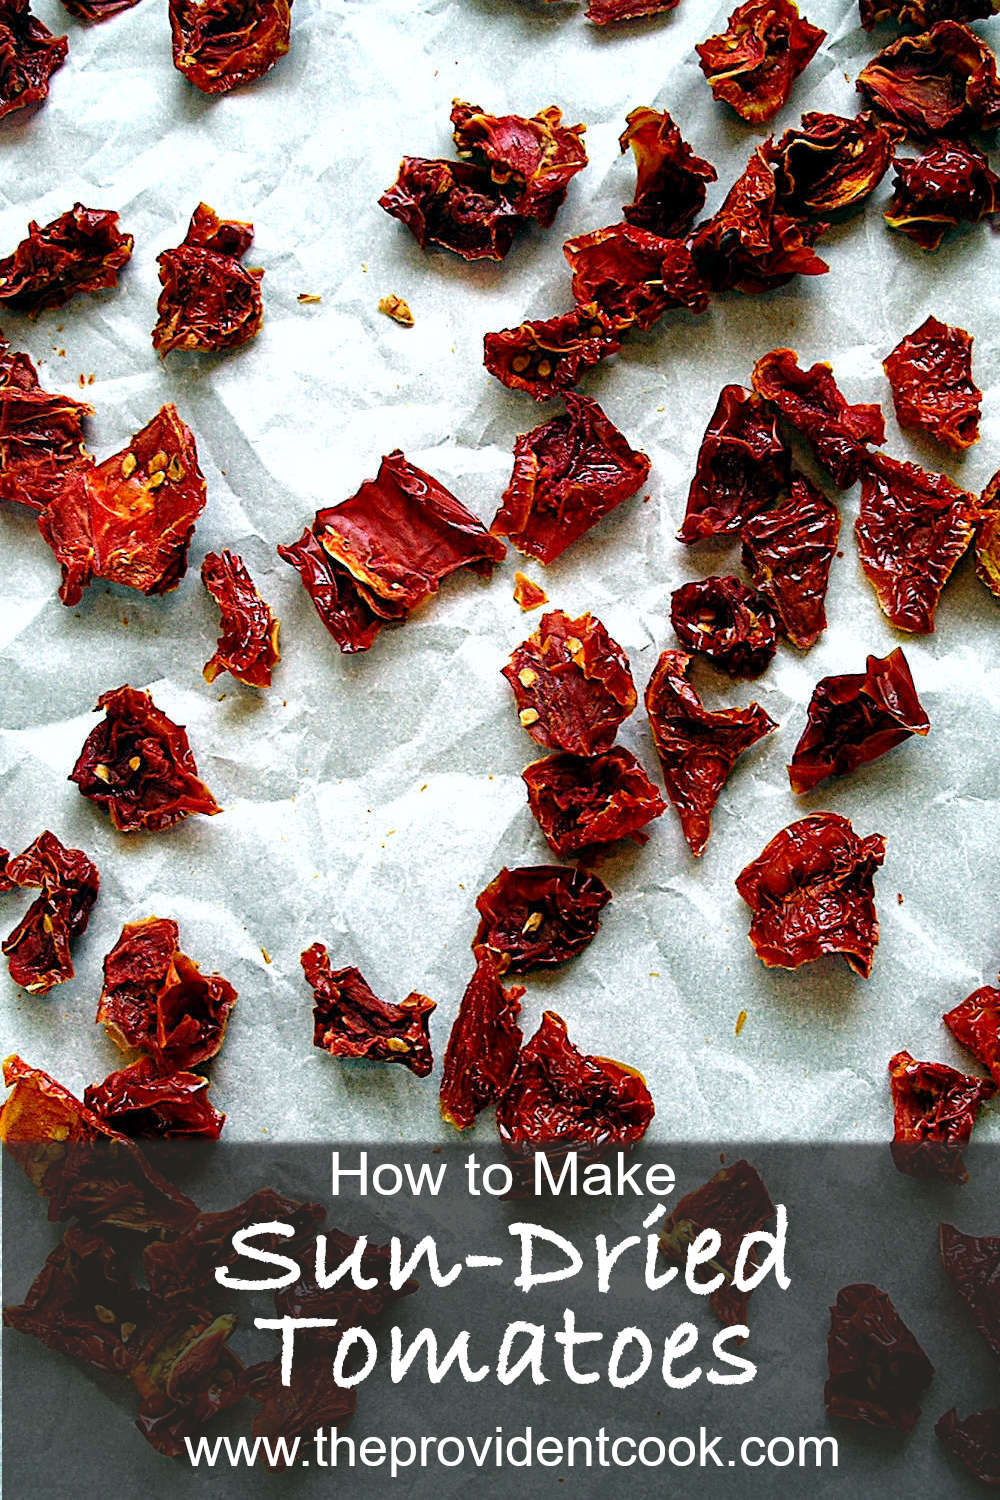
Sun-dried tomatoes are a great way to preserve the garden’s bounty. Here I share tips and tricks learned over 15+ years of making my own sun-dried tomatoes at home.
Drying or dehydrating tomatoes concentrates their flavor, and they’re delicious in Penne with Smoked Chicken and so many other recipes. I use them in pasta salads, stews, soups, or even in a green salad – anywhere that I want a little bright, tomato flavor. But they’re expensive – usually $10 per pound or more! – which is why I set out to learn to make my own. I’ve had my share of flops and failures. Hopefully, this post will help you find success on your first try!
Methods of Drying and Dehydrating
There are plenty of posts and articles on the web about drying tomatoes. Each method has its own fans, I’m sure, but here’s my take:
Naturally dried, in the sun: This is the way people have dried tomatoes for centuries, but it has its drawbacks. You’ll need one or more racks, typically made of window screen, and cheesecloth to keep insects out. Then you set the racks in the sun, turn the tomatoes every day and bring the racks indoors at night to keep dew from wetting them. You’ll be limited by the number of racks you have, the number of rain-free days, etc. And keeping critters out might be an issue depending on your circumstances.
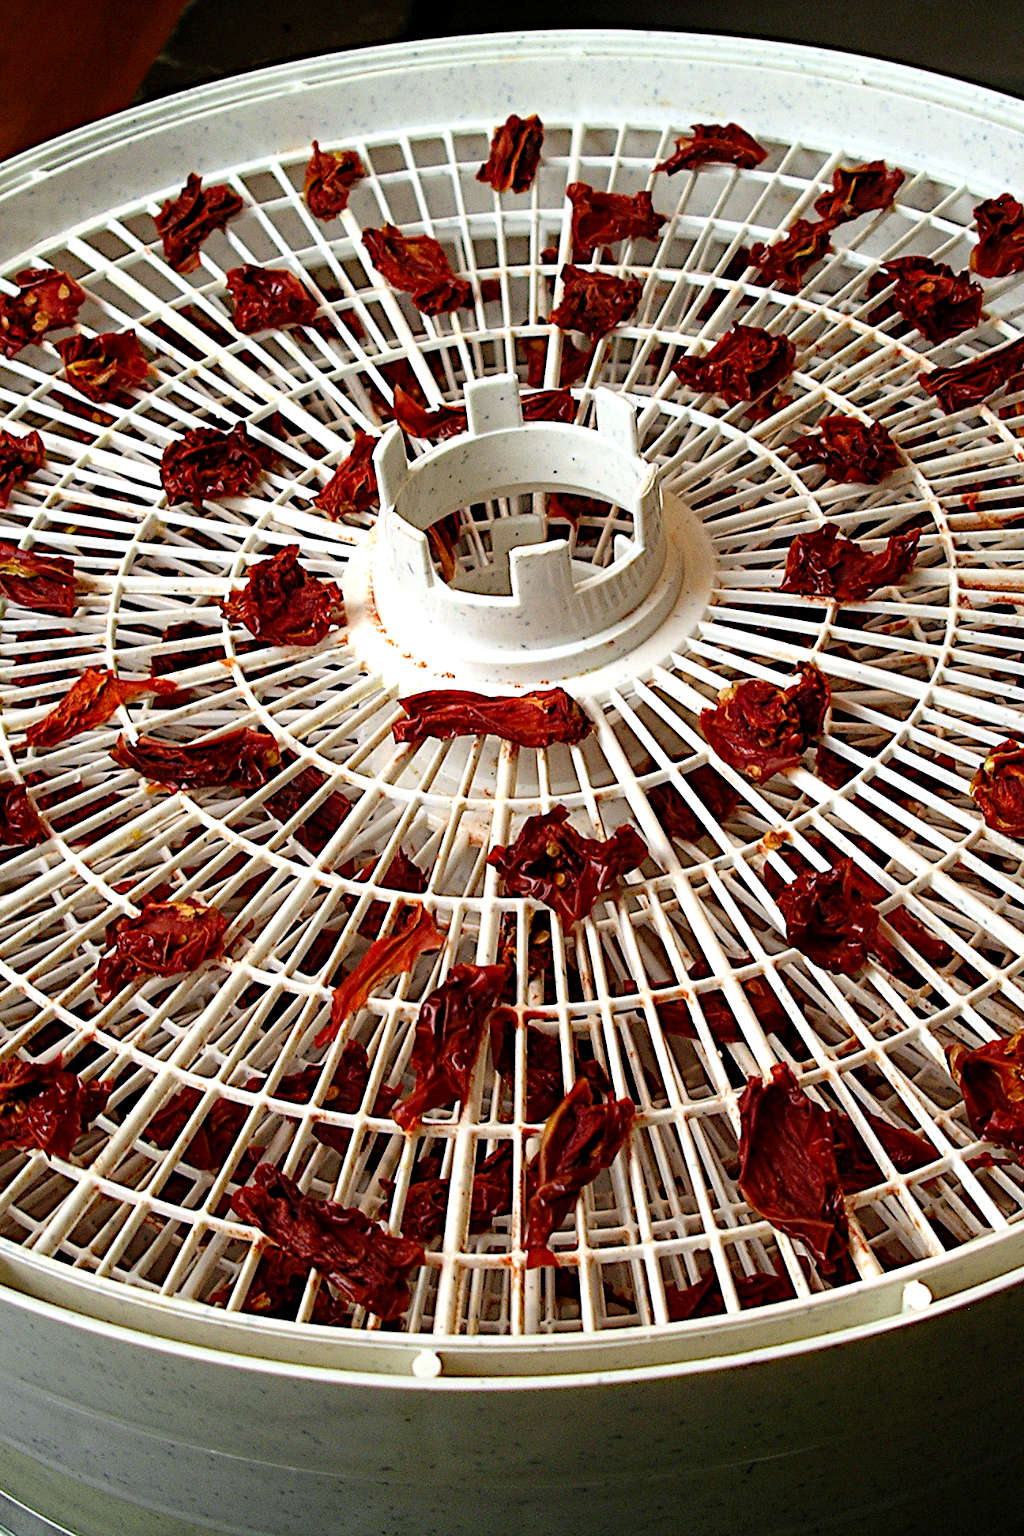
Oven-dried: This calls for baking the tomatoes in a low oven (225 – 250°) for about 4 hours. The big prob I have with this method is the yield. Keep in mind that tomatoes are mostly water, and when that evaporates they really shrink down. In the pic above, the top rack of my dehydrator contains what’s left of at least 2 pounds of tomatoes! If you only want to dry a few tomatoes, this method is probably fine though.
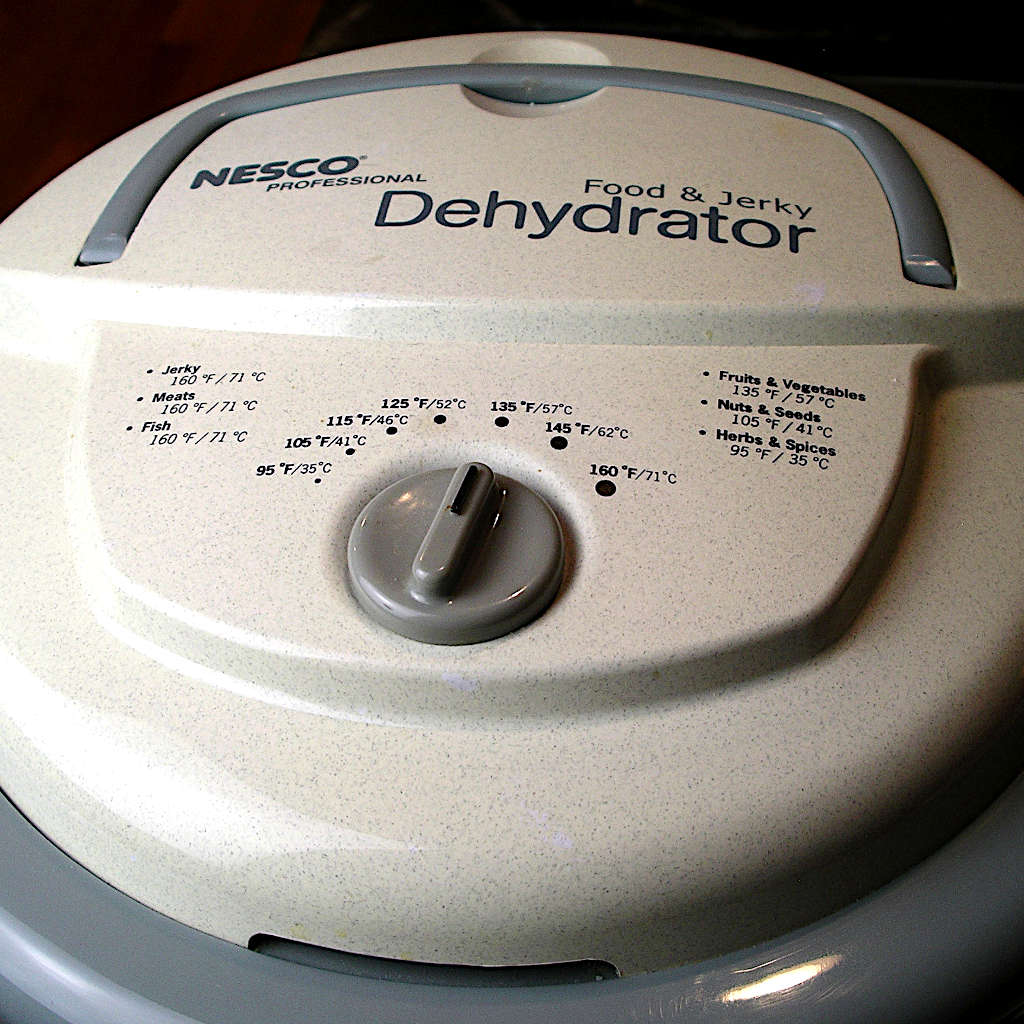
With a dehydrator: This is the method I use because it’s faster and more convenient than drying in the sun, and it lets me dry a large number of tomatoes in a single run. I also like that I can dehydrate at a lower temperature (135°) that’s closer to what you’d have with the naturally dried method. We’ve had our Nesco dehydrator, below, for at least 10 or 12 years, and it’s still going strong. Bass Pro, Cabela’s, and many other stores sell dehydrators, too. They range from about $40 and up – ours was about $70.
The process is really quite simple, and I’ll explain more below. But in brief, you just cut the tomatoes in half, remove most of the seeds and jelly, slice into one-inch chunks, nuke ’em, then lay them on the dehydrator trays and let it do its thing.
What Kind of Tomatoes to Use?
You can make sun-dried tomatoes out of almost any type, but think about what you want the result to be. Yellow, orange, green, and some pink tomatoes are fairly low acid and probably won’t have a flavor that’s as bright as a red variety. Cherry and grape tomato types are small, and it might become a chore to slice them in half. But they have very few seeds, so you wouldn’t really need to remove them.
Larger tomatoes like beefsteaks have a greater amount of seeds and ‘jelly’ that should be removed before dehydrating. The seeds can be quite bitter, and the clear ‘jelly’ that surrounds the seeds slows down the drying process. Roma-type tomatoes are great because their seed cavities run lengthwise, and you can simply slice them in half, then run your finger down the cavities to remove the seeds.
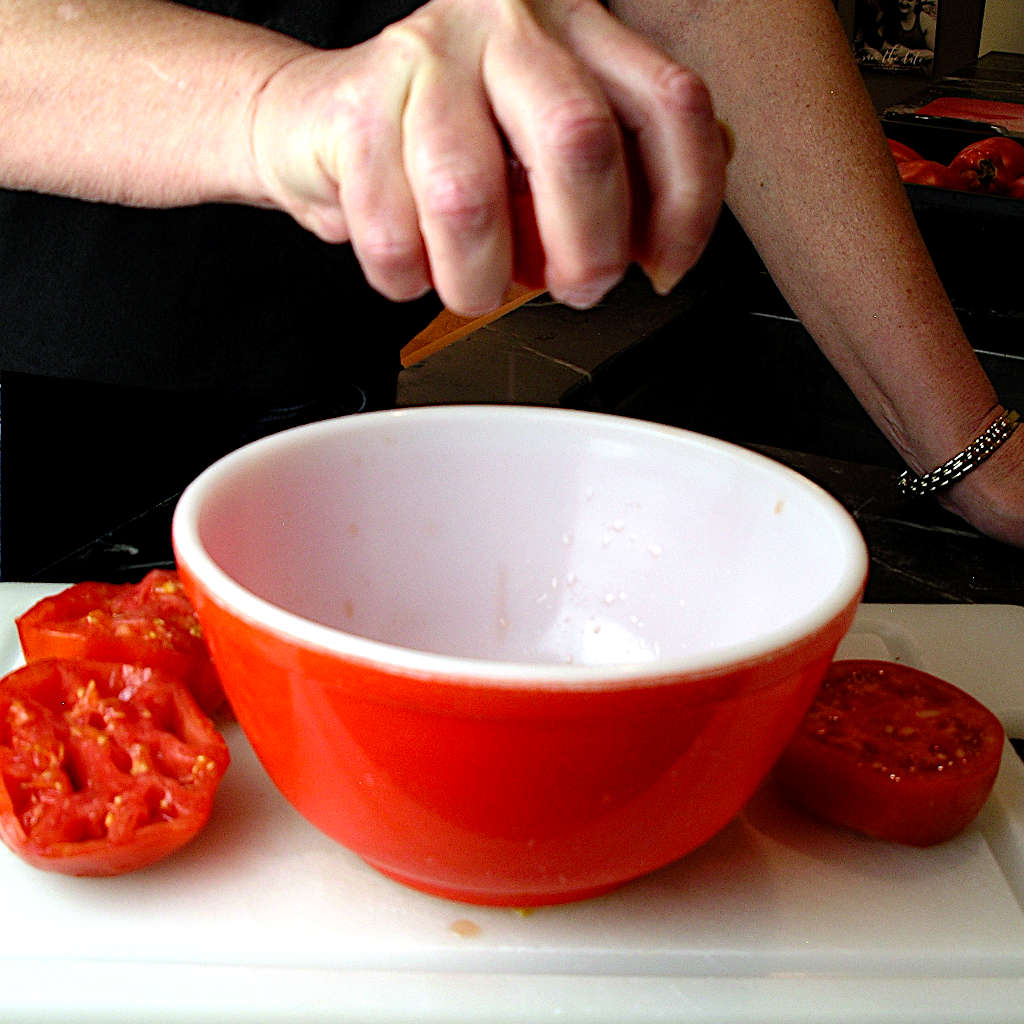
If you’re using round-type tomatoes, just slice them in half across the equator, then gently but firmly squeeze each half to remove the seeds and jelly. It helps to kind of ‘fling’ your hand with the tomato downward to encourage the seeds and jelly to come out.
Mold is the Enemy
When I first started making my own sun-dried tomatoes, I used an ancient, off-brand dehydrator that my father-in-law found at a yard sale. It had a single heating element in the base, but no fan. That meant that I had to constantly rearrange the trays to make sure the tomatoes were drying evenly. The first few times, it worked fine. But then it didn’t.
I lost a whole dehydrator-load of tomatoes to mold. Grey, fuzzy, disgusting mold. Ugh!
The tomatoes just weren’t getting to a mold-safe temperature quickly enough. Microwaving the tomatoes before placing them on the drying trays was the answer. It also seems to help them dry faster.
Overview of the Process
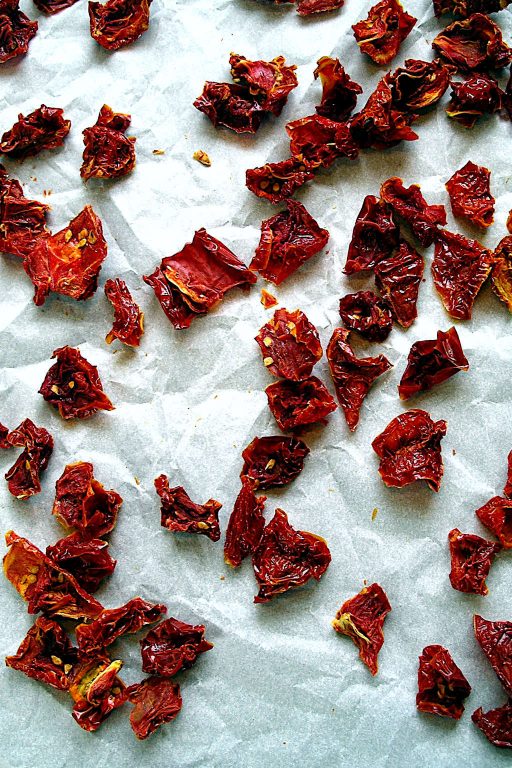
The process is really pretty simple. Start by rinsing the tomatoes in clean water, then core them and remove the blossom-end scar. Cut them in half, lengthwise for Roma-types, and across the equator for round tomatoes. Remove the seeds and jelly by scraping with your finger or squeezing the tomatoes gently but firmly. Then cut them into about 1 by 1-inch chunks, trying to keep at least some skin on each piece.
Place the tomato chunks in a single layer on a paper plate and microwave them on Medium for about 2 minutes (see note in the recipe). Place them skin-side down on the dehydrator racks, and sprinkle lightly with kosher or sea salt. (This also helps them dry faster.) Season them if you wish (Italian herb seasoning is good, or whatever you prefer). Repeat with the number of tomatoes and the number of dehydrator trays you have available.
Turn on the dehydrator. If your dehydrator doesn’t have a fan, rearrange the trays at least every 8 hours or so to ensure even drying. Start checking the tomatoes for doneness/dryness after 24 hours. Depending on your dehydrator, it might take 36 hours or longer until the tomatoes are completely dried. I prefer to dry them completely until they’re almost crisp.
Let them cool for a few minutes, then take the pieces off of the trays. I store them in quart-size bags in my freezer just to ensure they don’t mold. I’ve stored them this way for at least a year without any degradation in quality that I can taste.
Note that everything I’ve read says that canning dried tomatoes in oil is ABSOLUTELY NOT SAFE for home canners. There is a real risk of botulism poisoning and other dangers. Please be safe.
How to Use your Sun-Dried Tomatoes
Before using your dried tomatoes, you’ll need to rehydrate them. I just add 1/2 cup dried tomatoes straight from the freezer to a bowl, and add a tablespoon or so of water. Then I cover the bowl with plastic wrap and give it a good shake to distribute the water evenly. Then, 1) microwave on High for 30 seconds and let cool, or 2) refrigerate for 4 to 24 hours, shaking the bowl occasionally, or 3) let stand on the counter for at least an hour. Drain before using, though there shouldn’t be much water left. Being a tish impatient, I usually go for option 1!
Use them just as you would use commercial sun-dried tomatoes bottled in oil. Use your judgment on this – if your recipe calls for some of the oil from the commercial sun-dried tomatoes, just add an equivalent amount of olive oil along with your homemade sun-dried tomatoes.
PrintHow to Make Sun-Dried Tomatoes

Sun-dried tomatoes are a great way to preserve the garden’s bounty. Here are tips and tricks learned over 15+ years of dehydrating my own sun-dried tomatoes at home. The quantities listed here will yield about 1 cup finished sun-dried/dehydrated tomatoes.
- Prep Time: 60 minutes
- Cook Time: 36 hours
- Total Time: 37 hours
- Yield: 1 cup 1x
- Category: Canning/Preserving
- Method: Dehydrating
- Cuisine: N/A
Ingredients
7 pounds garden-ripe red tomatoes (Roma, beefsteak, or other types), or as many as will fit in your dehydrator trays
About 2 teaspoons kosher or sea salt (non-iodized), enough to lightly sprinkle each tray of tomatoes
Italian or other seasonings, if desired
Instructions
Fill a clean sink or other large vessel half full with water and add the tomatoes. Working with one tomato at a time, rinse then using a small sharp knife remove the core and the blossom-end scar.
On a cutting board cut the tomato in half across the equator for round tomatoes, or lengthwise for Roma-type tomatoes. Scrape the seed cavities with a finger (for Romas) or gently but firmly squeeze and shake the tomato (for other types) to remove the seeds and jelly.
Cut the tomato halves into smaller pieces, at least 1 by 1 inch, and place in a single layer on a paper plate. Repeat until the plate is full, then microwave on Medium (see note) for 2 to 2½ minutes or until hot.
Remove the plate from the microwave and dump the tomato pieces onto a dehydrator tray. Arrange the pieces skin-side down if possible (this helps reduce sticking). Sprinkle lightly with salt (and seasoning, if using). Repeat with as many tomatoes and dehydrator trays as you have.
Plug the dehydrator in and set the temperature to 135° F. If the dehydrator does not have a fan, rearrange the trays at least once every 8 to 10 hours to ensure even drying. If the dehydrator does have a fan, you can probably skip this step, but check your user manual to be sure.
Check on the tomatoes at least every 12 hours until they begin to shrivel and dry. Once they have reached your desired level of dryness, unplug the dehydrator and let stand at least 15 minutes. Remove the tomatoes from the trays and store in the freezer in freezer-safe packaging up to 1 year.
To rehydrate, for each half-cup of dried tomatoes add about a tablespoon of water. Shake to distribute the water, then simply let stand on the counter for about an hour, covered. Or microwave, covered, about 30 seconds on High. Or refrigerate overnight. Use as you would use commercial sun-dried tomatoes.
Seven pounds of tomatoes yields about 1 cup of sun-dried tomatoes.
Notes
To microwave on Medium power: Locate the Power button on your microwave’s control panel (usually in the lower-left corner). Press it repeatedly until the display shows ’50’ (this is Medium power). Then use the number keys to set the amount of time and press Start.
Keywords: sun dried tomatoes, dehydrator, dehydrating